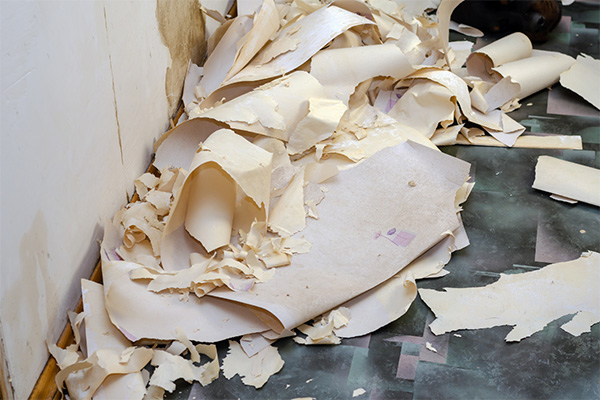
Removing wallpaper can be a daunting task, but it's often a necessary step when you're ready to refresh your home's interior. Whether you're dealing with outdated patterns or damaged wallpaper, knowing how to remove it properly is key to achieving a clean and blank canvas for your new design ideas.
In this extensive manual, we will guide you systematically through the process of wallpaper removal, offering insights into effective tips, techniques, and the essential tools required to simplify the task. Say goodbye to those outdated, peeling layers, and prepare to revitalize your walls with a rejuvenating and contemporary appearance.
What To Consider Before Removing Wallpaper
Wallpaper Type
Understanding the type of wallpaper is crucial because it dictates the removal method. Peelable or strippable wallpaper is designed to come off easily, often without the need for chemicals. Traditional paper-based wallpapers may require more effort, while vinyl wallpaper or fabric wallpapers can be more challenging to remove due to their different textures and materials.
Wallpaper Adhesive Type
The adhesive used for wallpaper can vary. Water-based adhesives are common and typically easier to work with because they soften when exposed to water or wallpaper stripper solution. However, some wallpapers may have been installed with stronger, permanent adhesives. Knowing the adhesive type helps you select the appropriate removal method.

Wall Type
Considering the type of wall when removing wallpaper is crucial to ensure that the process goes smoothly and that the wall remains in good condition. Different wall types may require different approaches to wallpaper removal. Below are some factors to take into account for different types of walls:
Drywall
Drywall stands out as the predominant wall material in contemporary residences, and it proves to be relatively straightforward to manage during wallpaper removal. However, you should still be cautious not to damage the drywall's surface during the process. Use gentle scraping techniques and avoid excessive force to prevent gouging or tearing the drywall paper.
Plaster Walls
Older homes may have plaster walls, which can be more delicate than drywall. When removing wallpaper from plaster walls, don't damage the plaster. Use a wallpaper stripper solution that is gentle on the surface, and avoid aggressive scraping. Plaster walls are susceptible to cracking, emphasizing the importance of delicate handling to prevent potential damage.
Textured Walls
Textured finishes on walls, such as stippling, can pose a challenge when it comes to removing wallpaper. The texture can make it harder to scrape off the wallpaper and may require more effort. Be patient and ensure that the removal solution penetrates the textured surface to soften the adhesive.
Painted Walls
If the wallpaper was applied over painted walls, you'll need to consider the condition of the paint underneath. In some cases, removing wallpaper can also remove layers of paint. Before proceeding, test a small area to evaluate how the paint reacts to the removal process. If the paint is removed too easily, you might need to consider repainting the wall.
Sheetrock
Sheetrock is a brand of drywall that may have a different texture or finish. It can be treated similarly to regular drywall, but be aware of any unique characteristics of Sheetrock that may affect the removal process.
Paneling
Some walls may be covered with wood paneling. When removing wallpaper from paneling, you should consider whether you want to keep the paneling intact or remove it entirely. If you plan to remove the paneling, the wallpaper removal process can be more straightforward. However, if you want to preserve the paneling, be cautious when scraping to avoid damage.
Brick or Stone Walls
In rare cases, wallpaper may be applied to brick or stone walls. Eliminating wallpaper from these surfaces can prove challenging due to their uneven and porous characteristics. Consider using specialized methods for removing wallpaper from brick or stone, such as steam or heat-based removal.

How to remove wallpaper
Materials You'll Need
Wallpaper scraper or putty knife
Wallpaper stripper solution or vinegar and water mixture
Sponge or cloth
Bucket
Plastic drop cloth
Spray bottle
Wallpaper scoring tool (optional)
Wallpaper steamer (optional)
Instructions
Step 1: Prepare the Room: Begin by clearing the room of furniture, decorations, and anything that might obstruct your work area. If relocating furniture is not feasible, relocate it to the center of the room and shield it with plastic drop cloths to safeguard it from water, wallpaper debris, and adhesive.
Step 2: Test a Small Area: Wallpaper can vary in terms of adhesive and ease of removal. To determine the best approach, gently peel a corner or section of the wallpaper. If it comes off easily, you may not need additional steps like scoring or steaming.
Step 3: Score the Wallpaper (if necessary): If the wallpaper is firmly attached and doesn't peel off easily, consider using a wallpaper scoring tool. This tool generates small perforations on the surface of the wallpaper, facilitating better penetration of the removal solution and more effective adhesive softening.
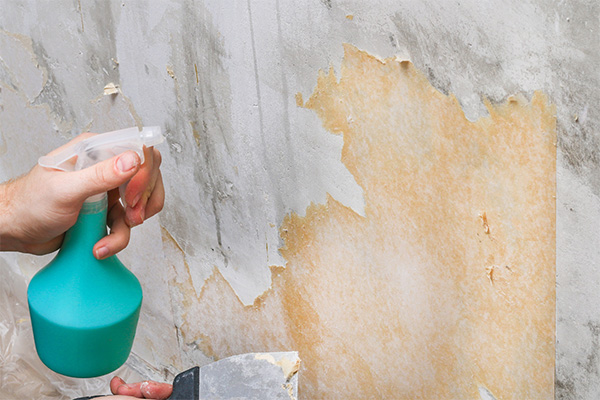
Step 4: Prepare the Wallpaper Stripper Solution: Mix warm water with a commercial wallpaper stripper solution according to the manufacturer's instructions and place it in a spray bottle. Alternatively, create a DIY solution by mixing equal parts of warm water and white vinegar. The vinegar helps break down the adhesive.
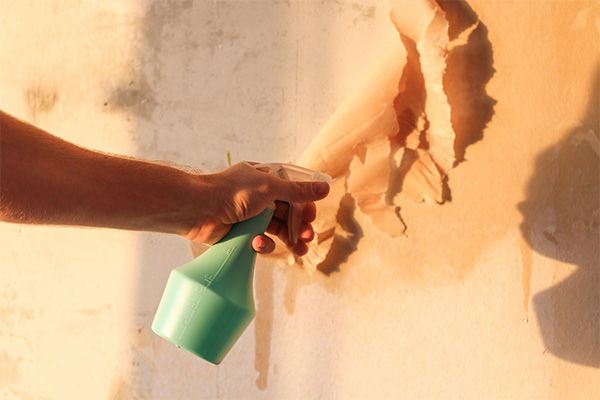
Step 5: Apply the Wallpaper Stripper Solution: Dip a sponge or cloth into the wallpaper stripper solution and generously apply it to a manageable section of the wallpaper, typically starting from the top and working your way down. Avoid over-soaking to prevent excessive dripping. Allow the solution to sit for the recommended time, usually 10-15 minutes, but follow the product's instructions.
Step 6: Begin Peeling: After the wallpaper has absorbed the solution, employ a wallpaper scraper or putty knife to gently lift a corner or edge of the wallpaper. Start at a low angle to create separation between the wallpaper and the wall and strip the wallpaper off the wall. Exercise patience and ensure the wall is not damaged during wallpaper removal.
In areas where electric outlet covers and switch plates are located, pull wallpaper away from the plates to protect any electrical from water exposure.
Should the wallpaper prove difficult to remove and the underlying layer of wallpaper backing remains attached to the wall, contemplate reapplying the solution and extending the waiting period for it to loosen the adhesive effectively.
Step 7: Remove Residual Adhesive/Wallpaper Glue: After peeling off the wallpaper, you may find residual adhesive/wallpaper glue on the wall. Use your wallpaper scraper, a sponge, or a cloth to remove it. Reapply the wallpaper stripper solution to areas with stubborn wallpaper adhesive, allowing it to soften before scraping or wiping.
Step 8: Rinse and Clean: Once all the wallpaper and adhesive are removed, rinse the wall with clean water to remove any remaining residue from the wallpaper stripper solution. Employ a damp cloth to meticulously wipe down the wall, ensuring it is clean and smooth.
Step 9: Let the Wall Dry: Before proceeding with additional work, let the wall air-dry completely. The drying time can vary depending on the room's ventilation and humidity levels, but it's essential to have a dry surface before painting or applying new wallpaper.

Ways To Remove Wallpaper
Warm Water and Sponge
This method uses a sponge or cloth to saturate the wallpaper with warm water. The application of warmth assists in softening the adhesive, rendering it more pliable. It's a gentle method that is suitable for most wallpapers, especially those with water-based adhesives. The crucial point is ensuring the wallpaper is thoroughly moistened without over-saturating.
Wallpaper Steamer
A wallpaper steamer is a specialized tool that generates steam to penetrate the wallpaper and adhesive. It's particularly effective for removing stubborn wallpapers or multiple layers of wallpaper. The steam loosens the adhesive, allowing you to peel off the wallpaper with less effort. Be cautious with this method, as the steam can be hot, requiring extra care to avoid damaging the wall surface.
Wallpaper Removal Solution
Commercial wallpaper removal solutions are formulated to break down wallpaper adhesive. Blend these solutions with warm water and apply them to the wallpaper surface. They function by softening the adhesive, facilitating easier wallpaper removal. Adhere to the manufacturer's instructions for the correct dilution and application.
Fabric Softener
Mixing fabric softener with warm water creates a DIY wallpaper removal solution. The fabric softener's chemicals help dissolve the adhesive, while the warm water aids in softening the wallpaper. It's a cost-effective alternative to commercial solutions and is often effective in loosening wallpaper.
Vinegar and Water
Equal parts of vinegar and warm water can be mixed to create a natural wallpaper removal solution. The vinegar's acidity assists in dissolving the adhesive, and the warm water helps soften the wallpaper. This approach is ideal for individuals who favor natural solutions.
Dry Stripping
Dry stripping is the easiest method and is applicable to wallpapers that are designed to be peel-and-stick or non-woven. With this method, you can gently peel off the wallpaper without the need for water or removal solutions. It's a clean and straightforward process.
Wallpaper Scoring
Wallpaper scoring is used in combination with other removal methods. A wallpaper scorer or perforating tool produces small holes on the wallpaper's surface, facilitating improved penetration of water or removal solution into the adhesive. This scoring technique is especially valuable for challenging wallpaper removal situations.
Combination Method
At times, a combination of methods may be required. For example, use a wallpaper steamer to loosen the top layer of wallpaper initially, and then apply warm water and a scraper to remove the remaining adhesive and backing. This approach is effective for challenging wallpaper removal projects.
How To Remove Wallpaper Glue
Removing wallpaper glue is a crucial step in the wallpaper removal process. One effective method involves using warm water to soften the adhesive. To start, prepare the room by clearing furniture and protecting surfaces with plastic drop cloths. Next, fill a bucket with comfortably warm water, not boiling hot water. Test a small section of the wallpaper with warm water to ensure it doesn't damage the wallpaper and to see if the adhesive starts to soften. After confirmation, dampen sections of the wallpaper with warm water and allow it to sit for 10–15 minutes to soften the adhesive. Gently peel off the wallpaper using a wallpaper scraper or putty knife, exercising patience to prevent any damage to the wall. Repeat the process as needed for stubborn areas. Afterward, clean any remaining adhesive residue with warm water and ensure the wall is completely dry before proceeding with repairs or new wall coverings.

