This holiday season, you’ll likely be spending more time celebrating at home and have more extra time to spend decorating your Christmas tree. If you do have some spare time, why not decorate your Christmas tree with family or spend some creative alone time. The annual tradition allows for endless amounts of creativity, so liven your home this winter with a well-decorated tree and a bit of holiday magic.
In addition to the usual Christmas tree toppings like ornaments, lights, and toppers, try adding another timeless decoration: ribbon on your Christmas tree. While ribbon Christmas tree may look challenging to recreate upon first glance, this how to decorate a Christmas tree with ribbon guide will make it easy to create a professional-looking Christmas tree.
Keep scrolling for tips on how to decorate a Christmas tree with ribbon, as well as easy-to-follow instructions for four different styles of Christmas tree ribbon decorations that are sure to bring holiday cheer.
Decorating a Christmas Tree with Ribbon Tips
Establish a Theme and Color Scheme
Ribbons come in many materials and colors, making them one of the most versatile decorations. While your options are endless when it comes to incorporating ribbon on your tree, it’s best to establish a theme for your ribbon Christmas tree.
A clear theme and color palette instantly makes your holiday decorations pop! Consider how your Christmas tree ribbon ties into your other holiday decorations and the overall style of your home decor. Classic Christmas colors like red, green, jute, and metallics are a great place to start.
Use the Right Ribbon for the Job
For a professional-looking tree, it’s worth investing in high-quality ribbon— and a lot of it. Professional decorators recommend getting at least 9’ of ribbon per foot of tree, meaning a 6’ tall tree would need 54’ of ribbon in order to decorate your ribbon Christmas tree. While this may sound like a lot, it’s important to remember that you’d rather have too much and use the extra on gifts than to run out halfway through decorating.
Use ribbon that is at least 2” to 4” wide with a wire edge that allows you to fold loops, bows, and swells that hold their shape without sagging. While wireless ribbon can be draped similar to garland, it cannot create the billowed effect most decorators are looking for.
If this is your first time decorating with ribbon, try using a mesh-textured or jute ribbon. The open weave is easy to hook onto small branches, giving you more control as you decorate.
Fluff Your Artificial Tree First
Before decorating your artificial Christmas tree with ribbon, you’ll first need to fluff the branches. While the time-consuming task may be a bit of a nuisance, your hard work will result in a fuller, more natural-looking tree. So put on a Hallmark Christmas movie, and start fluffing!
Starting at the bottom, work your way up the tree, pulling apart and shaping each branch as you go. Don’t forget the smaller branches towards the center, which can make the biggest difference. Stand back and view the tree from different parts of the room to ensure there are no gaps and that the tree looks full from every angle.
Ways to Put Ribbon on a Christmas Tree
Before adding ribbon to your tree, you’ll want to string it with lights first. When placing the ribbon, use the lights as a guide, filling in any dark spots or large gaps between branches. Wait until you’ve finished placing the ribbon to add your ornaments and tree topper.
Cascading Down the Tree
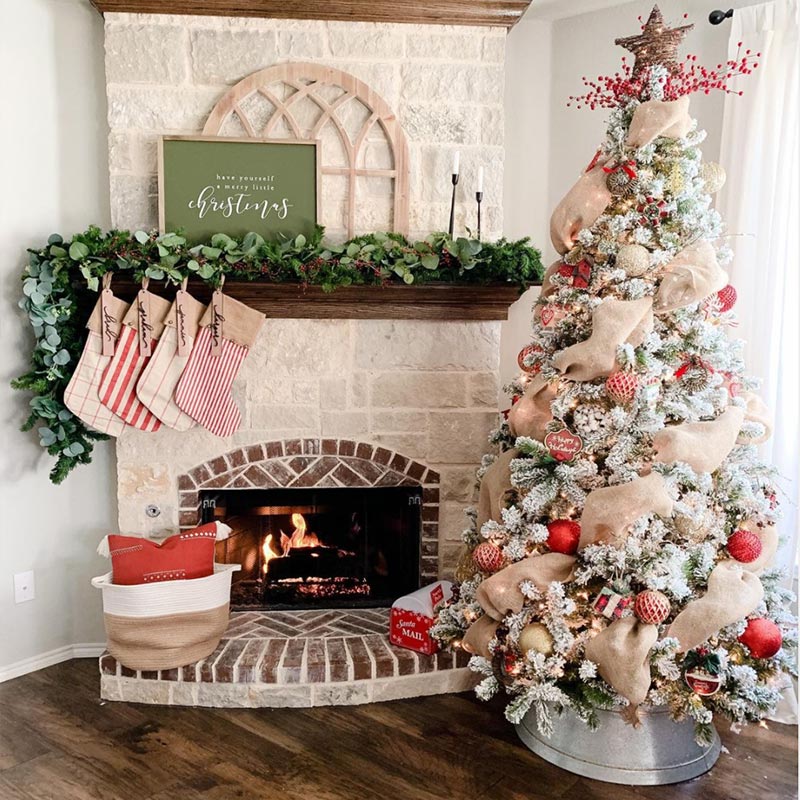
To accentuate a tall tree, simply let the Christmas tree ribbon cascade down the entire length of the tree. This quick and easy method looks best with a textured ribbon that is at least 3” to 4” wide.
To create the look, simply secure one end of the ribbon to the top branch, and allow the ribbon to fall down the side of the tree naturally. Gently bend the wire edging to create shape and a natural-looking cascade as you go. Remember, the ribbon should look casually draped instead of pulled taught.
Repeat the process 6 to 8 times, evenly spacing around the ribbon Christmas tree. Hide the ends of the ribbon discreetly underneath your tree topper.
Billowing Between Branches

Source: @white.oak.shop
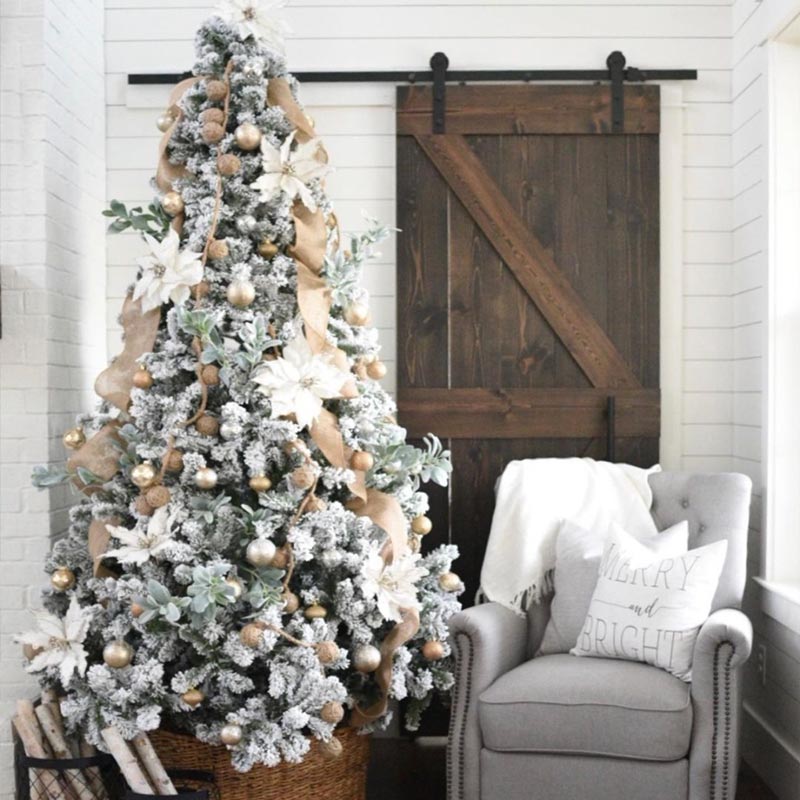
If your tree is a bit sparse, fill in the gaps between branches with a billowed tuft of ribbon. This style requires a wired ribbon that is 2” to 4” wide. To make the process easier, cut the ribbon into 24” to 36” long pieces.
Start with larger gaps that are deeper in the middle of the tree before tackling the ones towards the top. Anchor one end of the ribbon on a deeper branch and fold the ribbon into large loops and tufts, gently weaving in and out of the branches.
Repeat the process around the entire tree until it is filled to your liking. It can help take a step every once and a while to get a better idea of how much more to add.
The Classic Wrap Around

Source: Ig @the.little.bird
You can also use ribbon just like garland, wrapping it loosely around the tree. For this method, use a ribbon that is 3” to 4” wide. For a traditional look, use a wireless satin ribbon in a solid holiday color that ties your tree together.
Starting at the top, secure one end of the ribbon on a top branch in the back or under your tree topper. Gently drape the ribbon around the tree, angling it at a slight diagonal. Loosely weave the ribbon under and over branches as you go, being careful not to pull the ribbon too tightly.
Put a Bow on Top

Source: @archziner
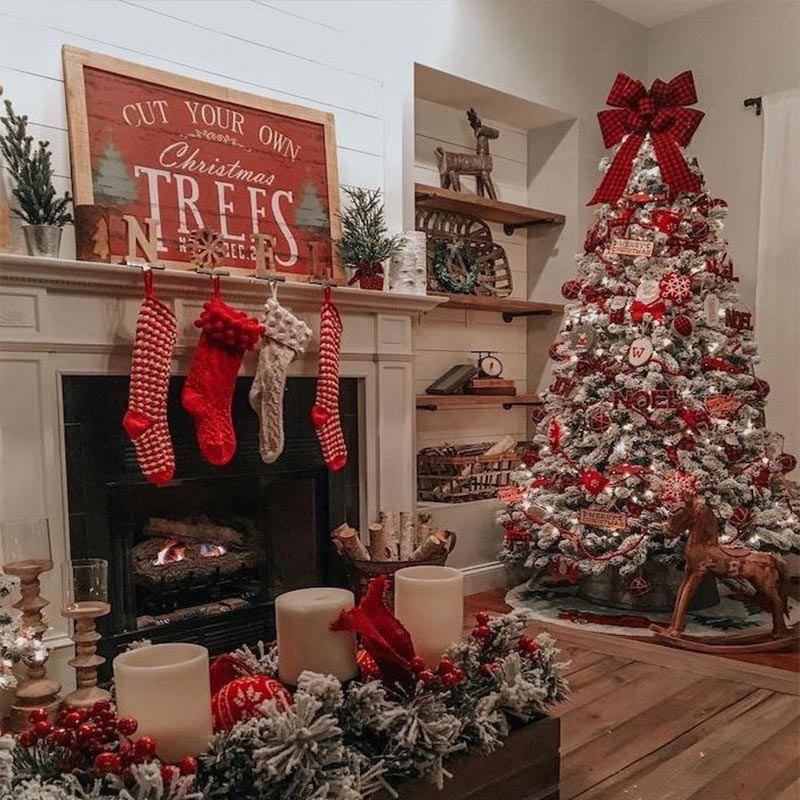
Instead of a classic star on top, mix it up with a striking oversized bow. Try turning your tree into a giant Christmas gift by pairing it with cascading ribbons down the sides.
Using a wire-edged ribbon that keeps its shape creates a large bow. The final shape and size of the bow are entirely up to you. Use a twist tie to secure your bow to the top branch of your Christmas tree. Then stand back and admire your newfound decorating skills and beautiful ribbon Christmas tree!


