Decorating a Christmas tree is an art form that brings joy and festive spirit to our homes during the holiday season. The twinkling lights, colorful ornaments, and fresh pine scent create a magical ambiance that captures the essence of this special time of year. While all Christmas trees are merry and bright, something about those professionally decorated trees makes them pop! They seem so colorful, so full, and so festive!
Here's the secret - just a few small tips and new ideas are all it takes to give your family tree that designer flare using your own ornaments! Continue reading to discover expert tips on decorating a Christmas tree!
How To Decorate A Christmas Tree
Start With Your Christmas Tree
Selecting the perfect Christmas tree is the foundation of successful decorating. The steps below can be used on an artificial Christmas tree or a real Christmas tree. Typically, professionally decorated Christmas trees start with an artificial tree - BUT the tips for using ribbons and ornaments to fill in gaps and hide bare spaces are perhaps even more important to remember when decorating a natural Christmas tree!
Consider the size and shape of your space regardless of a real or artificial tree. Measure the ceiling height and the floor space where the tree will stand. A tree that is too tall may necessitate trimming, while one that's too wide could feel overwhelming in a smaller room.
Next, think about the tree's shape. You can choose between various types, from traditional full and symmetrical to more irregular, rustic shapes. The right shape depends on your style and preferences; a well-shaped tree can make decorating more straightforward.
If you are going with a real Christmas tree, choosing a vibrant, healthy tree with firmly attached needles is essential for a visually appealing result.
If you decide on an artificial tree, consider selecting one that comes pre-lit. It saves you considerable time that would otherwise be spent stringing lights, and the evenly spaced lights create the perfect backdrop for the rest of your decorations. Regarding what type of fake Christmas tree to choose (fir? pine?) or whether the tree branches should be flocked with faux snow - that's entirely up to you and your preferences!
Prep The Tree
Once you've chosen the perfect Christmas tree, the next step in achieving a beautiful tree is fluffing and shaping the branches. This step is often underestimated, but it's essential for creating a full and aesthetically pleasing appearance.
Begin by carefully spreading out the branches of your tree. Start from the bottom and work your way up, gently pulling the branches away from the center pole or main trunk. By doing so, you'll create a fuller silhouette and provide more space for ornaments and decorations.
Pay special attention to any compressed or flattened branches. These can occur during transportation or storage. Gently bend and manipulate these branches to restore their natural shape. Keep an eye out for any gaps or uneven areas in the tree's foliage, as these can be addressed during the fluffing process.
Fluffing not only enhances the tree's appearance but also ensures that ornaments and lights are evenly distributed. A well-shaped Christmas tree serves as a canvas for your decorating efforts, allowing ornaments to hang naturally and garlands to drape elegantly.
Also, wear gloves - those branches can poke!

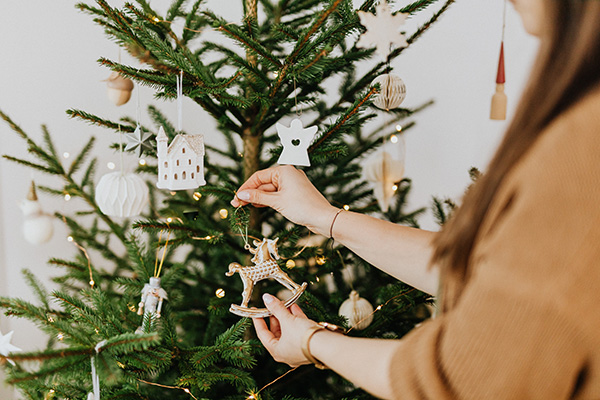
Image Source: Pexels
Consider A Theme
When decorating your Christmas tree like a pro, selecting a theme or color scheme is essential in achieving a cohesive and polished look. A well-thought-out theme ties together all the elements of your tree, creating a visually appealing and harmonious holiday centerpiece.
Here are a few popular themes to consider:
Traditional: This timeless theme features classic red and green colors, along with iconic symbols like Santas, stockings, and snowflakes. It evokes a warm and nostalgic holiday ambiance.
Modern: A contemporary theme often incorporates elegant metallic shades such as silver, gold, and rose gold. Minimalist ornaments and geometric shapes create a contemporary and stylish look.
Rustic: Embrace the cozy charm of a rustic theme with natural elements like pinecones, burlap ribbons, and wooden ornaments. Earthy colors and textures evoke the feeling of a rustic winter cabin.
Nautical: Ideal for coastal enthusiasts, this coastal Christmas theme incorporates sea-inspired elements like seashells, starfish, and blue and white color palettes. It's a unique twist on traditional holiday décor.
Whimsical: For a playful and whimsical tree, choose vibrant colors, oversized ornaments, and quirky decorations like elves, candy canes, and unicorns. It's perfect for families with young children.
Once you've settled on a theme, stick to it as you select ornaments, garlands, and tree toppers. This cohesive approach will give your tree a polished and professional appearance, and every decoration you choose will contribute to the overall story you're telling through your tree's design.
Gather Your Supplies
Before you embark on the delightful journey of decorating your Christmas tree like a pro, it's essential to gather all the necessary supplies and decorations. Being well-prepared will streamline the process and allow you to focus on creating a beautiful and harmonious holiday centerpiece.
Start by ensuring you have all the basics: ornaments, lights, garlands, a tree topper, and a tree skirt. Consider your chosen theme or color scheme, as this will guide your ornament and decoration choices. If you're going for a traditional look, classic red and green hues might dominate, while a modern theme could feature metallics and whites.
Having all your supplies organized and readily available will make the decorating process more efficient and enjoyable. It also lets you maintain a cohesive and harmonious look throughout your tree.

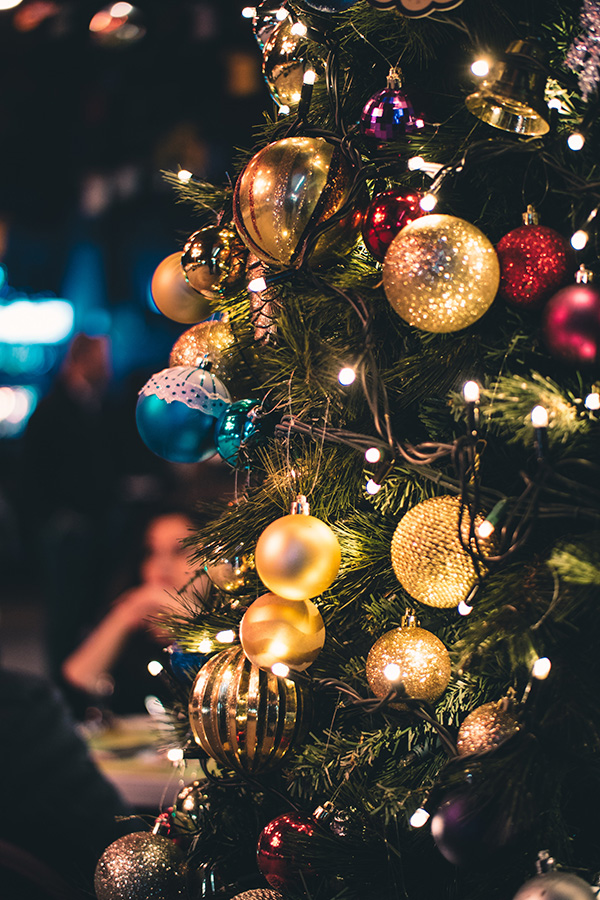
Image Source: Pexels
Add Lights
Using a pre-lit Christmas tree? You get to skip this step! Otherwise, there's a strategic order to follow, and that begins with stringing the lights. Properly placed lights not only provide the foundation for your tree's overall look but also make the ornaments and decorations shine brilliantly.
Plug in your string lights and start stringing them around your tree. This always gives you an opportunity to identify any non-working bulbs or issues. Replace any faulty bulbs to avoid disappointment later in the decorating process.
Always do this with the lights turned on so that you can see where any dark spots are. Start by going up and down your tree, from the base to the top and back down again, pushing the lights back into the depths of the branches. Then, go around again, circling the tree and keeping the lights closer to the tips. This spacing of the tree lights in two layers, with the first layer deeper and the second layer on the surface, will make your tree appear to glow from the inside out!
Aim to use approximately 100 lights for every vertical foot of your tree for the best results. LED lights are energy-efficient and produce less heat than traditional incandescent lights, which makes them a popular choice.
Add Ribbon or Garland
This optional decoration is key to giving a traditional Christmas tree that designer looks! Adding ribbon or garland gives that professionally decorated look, and these decorative elements provide an additional layer of texture and elegance to your tree.
All Christmas trees have gaps, whether they're real or fake. Use loops of wire-edged ribbon or garland to fill those gaps! Choose a ribbon between 2" and 4" in width, keeping your intended color scheme or room aesthetic in mind. Feel free to mix ribbons, combining opaque and sheer textures!
Start from the top and gently drape them around the tree, following the natural lines of the branches. Be mindful not to overdo it; too much garland can overwhelm the tree and detract from its overall beauty.
Cut the ribbon into manageable strands, then use the wired edges to secure one end to the underside of a branch. Bend the ribbon into a loop to fill a gap, then tuck the rest of the strand back into the tree. Run it down a small distance and make another loop, using the floral wire in the ribbon to keep it in shape. Continue adding ribbon loops across the entire tree.
Garlands come in various materials and styles, from classic tinsel to beaded strands and lush ribbons. Select garlands that match your selected theme or color palette. Red or gold garlands often work well for a traditional look, while silver or metallic garlands can add a touch of modern elegance.
Add Ornaments
Now that you've lit your tree and added garlands, it's time to focus on one of the most enchanting parts of decorating a Christmas tree: hanging ornaments. This step is where your creativity can truly shine, and it's essential to approach it thoughtfully to achieve a professionally decorated look. If you are decorating a family tree, now is the time to show off those endearing handmade ornaments! Or perhaps you have two Christmas trees to decorate? Put the family mementos on one, and use the other to enjoy the creative part of the decorating process!
Begin by placing the largest ornaments and gradually work your way down to the smaller ones. Larger ornaments should be placed strategically to fill in any gaps that still remain after fluffing branches and adding ribbon. Ball ornaments take up a lot of space and are useful in filling in gaps and bare spaces! Gold and silver ornaments are a nice touch since they reflect the twinkle of the lights.
Next, move on to medium-sized ornaments, which will help fill the spaces between the larger ones. Distribute them uniformly, ensuring there's a harmonious balance across the tree. Then, add your small ornaments. These delicate pieces can add charm and fill any remaining gaps. Position them thoughtfully to establish a sense of unity and equilibrium.
Remember that your chosen theme or color scheme should guide your ornament selection. Whether you're aiming for a traditional, rustic, modern, or eclectic look, the key is maintaining consistency within your chosen style.
As you hang each ornament, step back frequently to assess your progress from different angles. This will help you identify any areas needing adjustment and ensure that your tree has a professionally decorated appearance. The result will be a stunning and captivating centerpiece that captures the season's magic.
If using ornament hooks to attach your ornaments, don't just hang them from the branches. Instead, use the wire of the hook to wrap them around the branch, securing the ornament right up next to the branch. This keeps the branches from looking droopy as the ornaments dangle from them.
Add Other Decorations
Your Christmas tree is probably pretty full at this point, but it's time to add that little "extra" that will make it pop! Some Christmas tree decorations to sprinkle on at this point might be faux flowers, berry sprigs, or a garland! Really fill that Christmas tree out! You can make these tree picks yourself or purchase berry branches and floral sprays ready-made at craft stores.

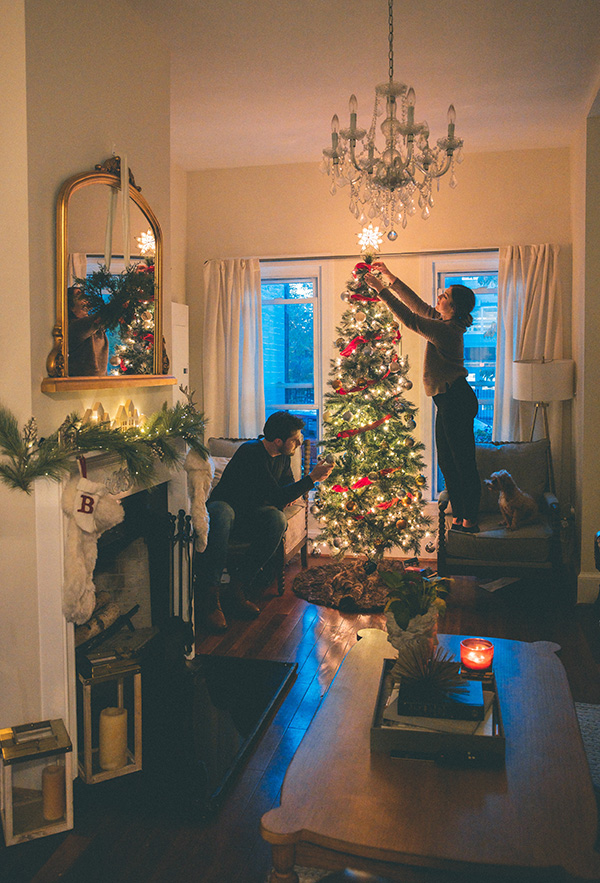
Image Source: Unsplash
Add The Christmas Tree Topper
The finishing touch is the Christmas tree topper. It serves as the finishing touch, the pièce de résistance that completes your holiday masterpiece. Selecting and placing the right tree topper is a crucial step in achieving a polished and harmonious look.
Tree toppers come in various styles and materials, so choosing one that aligns with your chosen theme or color scheme is essential. Here are some popular options:
Traditional Star: Go with a star or angel for a classic "Merry Christmas." A classic star tree topper symbolizes the Star of Bethlehem and is a timeless choice that complements various themes.
Angel: An angel tree topper adds an elegant and angelic touch to your tree, often with delicate details and flowing gowns.
Bow: A large, ornate bow can be a simple yet striking choice, especially if it matches your chosen color scheme.
Snowflake: A snowflake tree topper adds a touch of winter wonder to your tree and can be made of materials like metal, glass, or even sparkling crystals.
Santa Claus: Consider a Santa Claus tree topper for a whimsical and festive look. It adds a playful touch to your tree.
Custom Creations: Some tree toppers can be personalized or handmade to match your unique style or theme.
When placing your tree topper, ensure it is secure and centered at the tree's peak. This final touch should complement the overall design of your tree and serve as a beautiful focal point.
Fill In Any Gap
Take a step back and view your tree from various angles. You may notice areas where ornaments or decorations are sparse or where the overall balance is not quite right. This is where the artistry of decorating comes into play.
While filling in gaps, pay attention to the spacing of ornaments. Avoid clustering ornaments too closely, as this can create a cluttered look. Instead, aim for an even distribution that allows each ornament to shine.
Begin by selecting additional ornaments or decorations that complement your chosen theme or color scheme. These could be smaller ornaments, decorative picks, or even bows. Strategically place them in the areas that need attention, ensuring a balanced and harmonious look.
Tree Skirt
A tree skirt is designed to cover the base of your tree, concealing the tree stand or tree collar and any cords while also adding an elegant and cohesive finishing touch. A well-chosen tree skirt adds a polished look to your Christmas tree and helps anchor the tree within your overall holiday décor. It provides a harmonious transition between the tree and its surroundings, contributing to the overall ambiance of your holiday display.
When selecting a skirt, consider the following factors:
Theme and Color: Choose one that complements your chosen theme or color scheme. Whether it's a traditional red and green plaid, a luxurious gold velvet, or a rustic burlap material, the skirt should harmonize with your overall design.
Size: Make certain that the tree skirt is the right size for your tree and effectively conceals the base. It should extend a few inches beyond the edges of the tree stand to achieve a visually appealing appearance.
Texture and Material: The texture and material of the skirt can contribute depth and intrigue to your tree's overall design. Consider how it complements the ornaments and decorations.
Details: Some tree skirts feature decorative elements like embroidery, sequins, or appliques. These details can enhance the skirt's visual appeal and tie into your chosen theme.
Once you've chosen the perfect tree skirt, position it around the base of your tree, ensuring that it conceals the stand and cords. This finishing detail adds a touch of sophistication and complements your expertly decorated Christmas tree, turning it into a captivating centerpiece for your holiday festivities.
